TM 9-6115-624-BD
c.
Materials/tools.
Wire, safety (lacing) or common (item 33 or 34, appx c)
Tape (item 21, 22, or 23, appx c)
d. Procedural Steps.
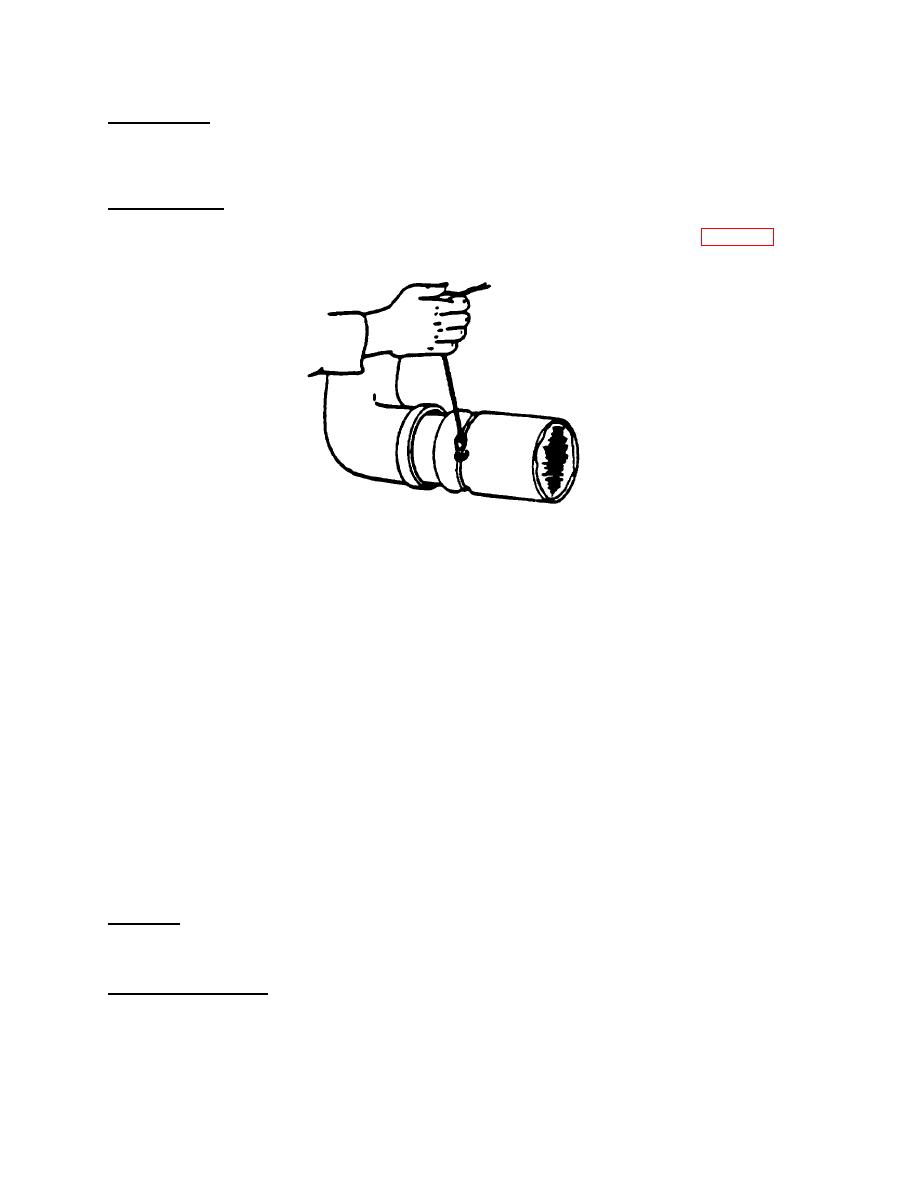
(1) Make a loop in one end of a wire. Twist the wire so that a permanent loop is formed (figure 6-5).
Figure 6-5. Hose Clamp Repair.
(2) Loosely wrap the wire once around the hose and pull the other end through the loop.
(3) While pressing the loop tightly against the hose, pull the wire through the loop as tight as possible. Bend the
wire back on itself, crimping it, so that the wrap will be tight and secure.
(4) Secure the loose end by making more wrap, opposite direction of the first.
(5) Install radiator cap in pressure release position.
(6) Other options: Wrap the hose with wire. Using a stick, twist wire ends together like a tourniquet. Tape ends
of stock to hose.
Record the BDAR action taken. When the mission is completed, as soon as practicable, repair the generator using
standard maintenance procedures.
6-14. Hose, Leakage. A leaking hose can be detected by obvious wet areas or engine overheating. Weak hoses
feeling soft and spongy should be reinforced with metal if repaired. The soft spongy feeling indicates the rubber is
deteriorated and will not withstand normal cooling system pressures. Below are two procedures for repairing a small leak
in a hose and also how to correct a larger split in a hose.
a. Limitations.
None if leak is completely stopped
b. Personnel/time required.
1 soldier/0.5 hours
30 minutes
6-8


