TM 9-6115-624-BD
d. Procedural Steps.
(a) Gain access to radiator.
(b) Inspect the radiator and pinpoint the leak location.
(c) Drain the coolant.
(d) Using side cutters, cut or break away the cooling fins from the coolant tubes, 1 to 2 inches each side of
the leak.
(e) Cut the coolant tube at the leak location, take care not to tear or puncture the other tubes.
(f) Sand metal clean and tie each end.
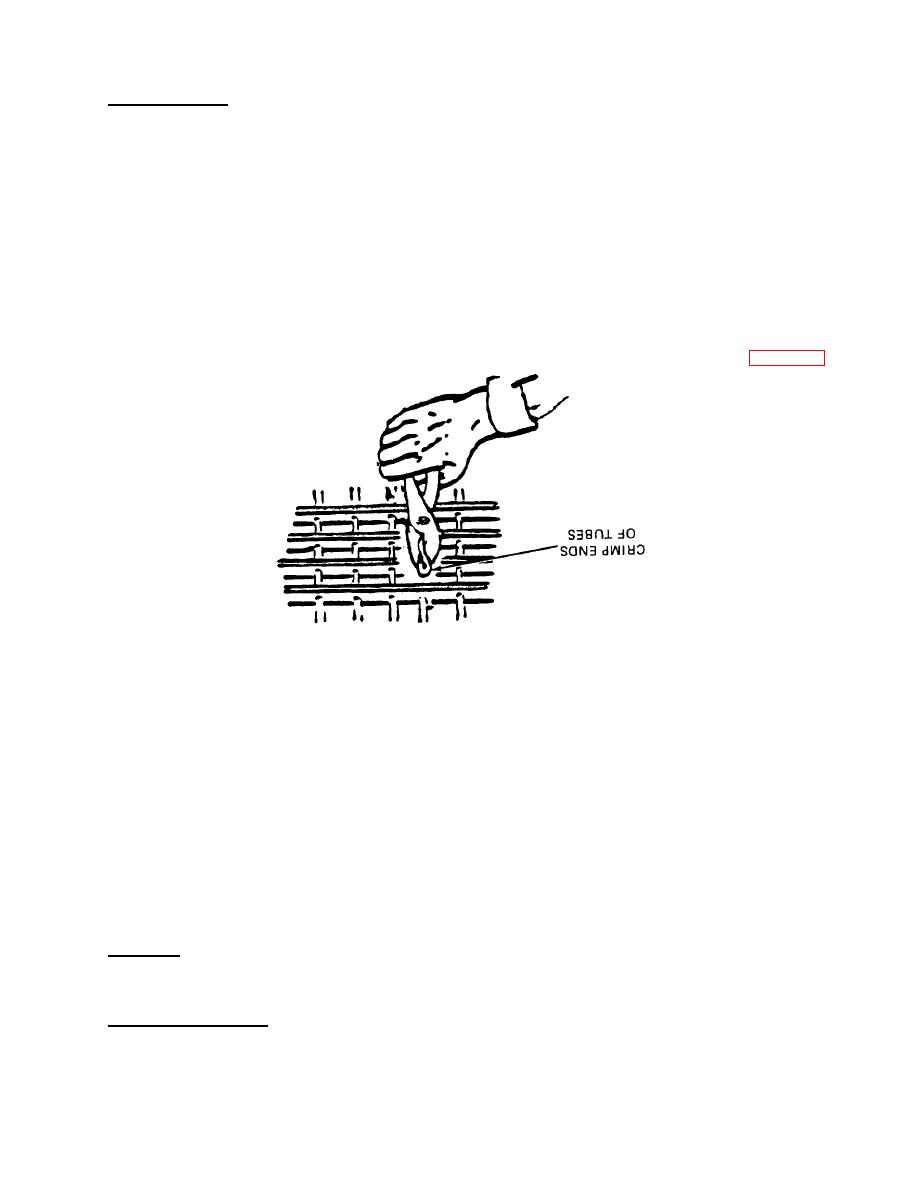
(g) Squeeze the tube ends together and fold each end over on itself approximately 1/2 inch (figure 6-4).
Figure 6-4. Radiator Core, Puncture Repair.
(h) If epoxy or solder is available, seal the coolant tube ends.
(i) If no epoxy or solder is available, fold the tube once more 1/2-inch to restrict the coolant leaks.
(i) Reinstall the coolant. Inspect radiator for leaks.
(k) Install radiator cap in pressure release position.
Record the BDAR action taken. When the mission is completed, as soon as practicable, repair the generator using
standard maintenance procedures.
6-13. Hose Clamp, Broken. A broken hose clamp will allow the hose to leak coolant and--cause engine overheating.
The clamp must be replaced or a substitute improvised to regain a sealed cooling system. If a replacement clamp is not
available wire can be used as a substitute. Care must be taken that the wire does not loosen.
a. Limitations.
None
b. Personnel/time required.
1 soldier/5-10 minutes
30 minutes
6-7


