
TM 9-6115-730-24
0013
ELECTRONIC TECHNICIAN (ET) TROUBLESHOOTING - Continued
CORRECTIVE ACTION - Continued
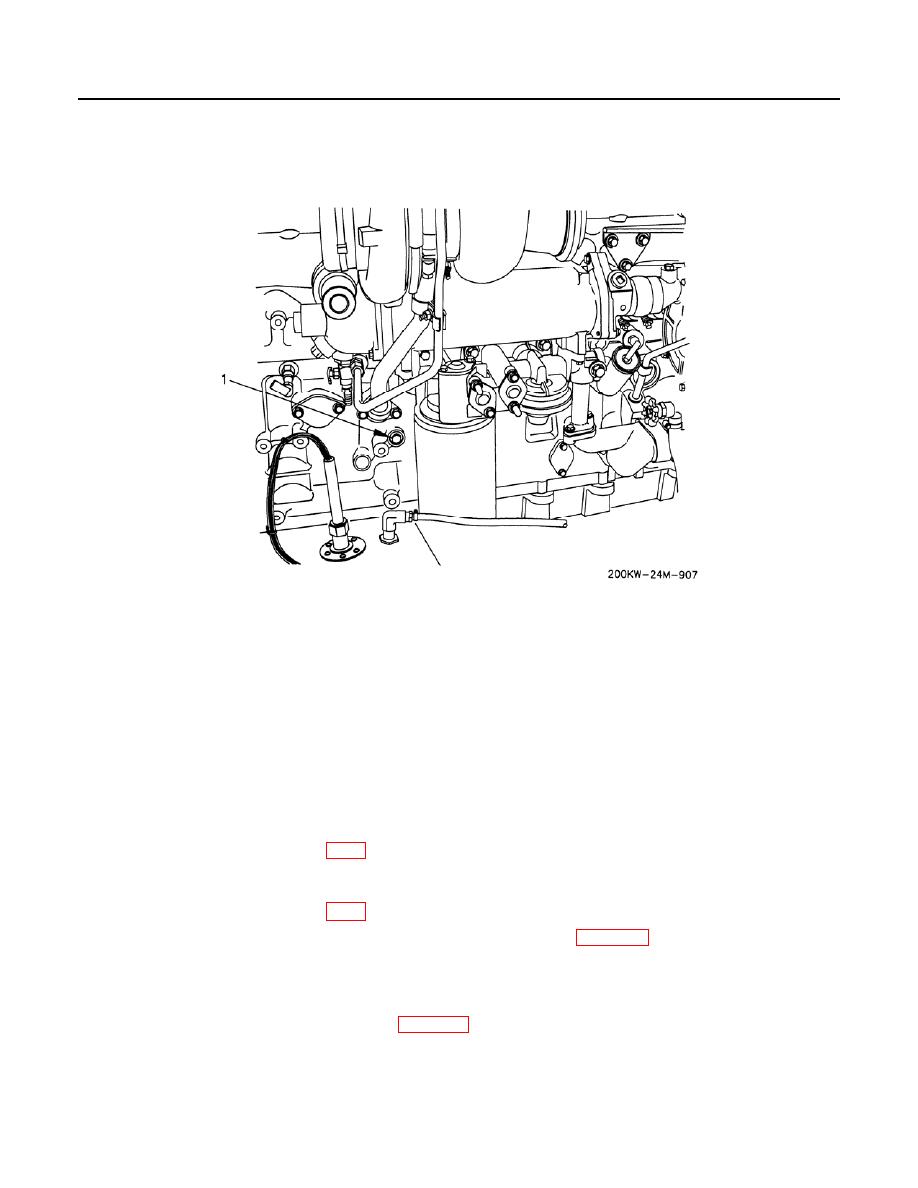
Figure 7. Timing Calibration Plug.
STEP 6.
Install the 6V-2197 transducer as follows:
a. Apply clean engine oil to the 2D-6392 O-ring seal. Install the O-ring seal
onto the end of the 6V-2197 transducer.
b. Insert the 6V-2197 transducer through the 7X-1171 transducer adapter.
Insert the transducer until contact is made with the surface of the crankshaft
counterweight. Pull the transducer 0.04 inch (1.0 mm) away from the
crankshaft counterweight.
c.
Tighten the nut on the transducer adapter.
d. Disconnect the ENG-J400 connector from ENG-P400 harness connector
(FO-2, sheet 1).
e. Connect the 7X-1695 cable assembly to the engine timing calibration
transducer and to the ENG-P400 timing calibration transducer connector
(FO-2, Sheet 1).
STEP 7.
Connect the Cat ET to connector CDC-P7 (WP 0012).
STEP 8.
Set the Battery Disconnect Switch to ON. Set the DEAD CRANK SWITCH to
NORMAL. On the EMCP, set the ENGINE CONTROL switch to MANUAL
START. Run the engine until the engine has exited cold mode operation.
STEP 9.
Start the Cat ET (WP 0012). Access the TIMING CALIBRATION screen on the
Cat ET by going to drop-down menu SERVICE, then CALIBRATIONS, then
TIMING CALIBRATION.
